The following guide is for configuring a Cisco SPA 112/122 with a VoIPOffice extension.
You will need:
- The VoIPOffice IP address – e.g. '77.240.xxx.xxx'
- The Extension number – e.g. '1xxx'
- The extension password/Secret (can be found by going to the edit mode of that specific extension, see the screenshot below)

1-) Connect the adapter via the internet port to your router, using an Ethernet cable.
2-) Connect the adapter via one of the phone port to an analogue phone.
3-) Once the adapter has been powered on, lift the receiver and dial **** for the configuration menu.
4-) When 'Configuration menu' is heard, dial 110# to hear the IP address. Note it down.
5-) On a computer connected to the same subnet as the adapter, open a web browser and type the full IP address (including the dots) into the address bar.
6-) On the login screen that will appear, enter 'admin' (case sensitive) as both username and password.

7-) Once you have logged in, you will see a screen like the one below:
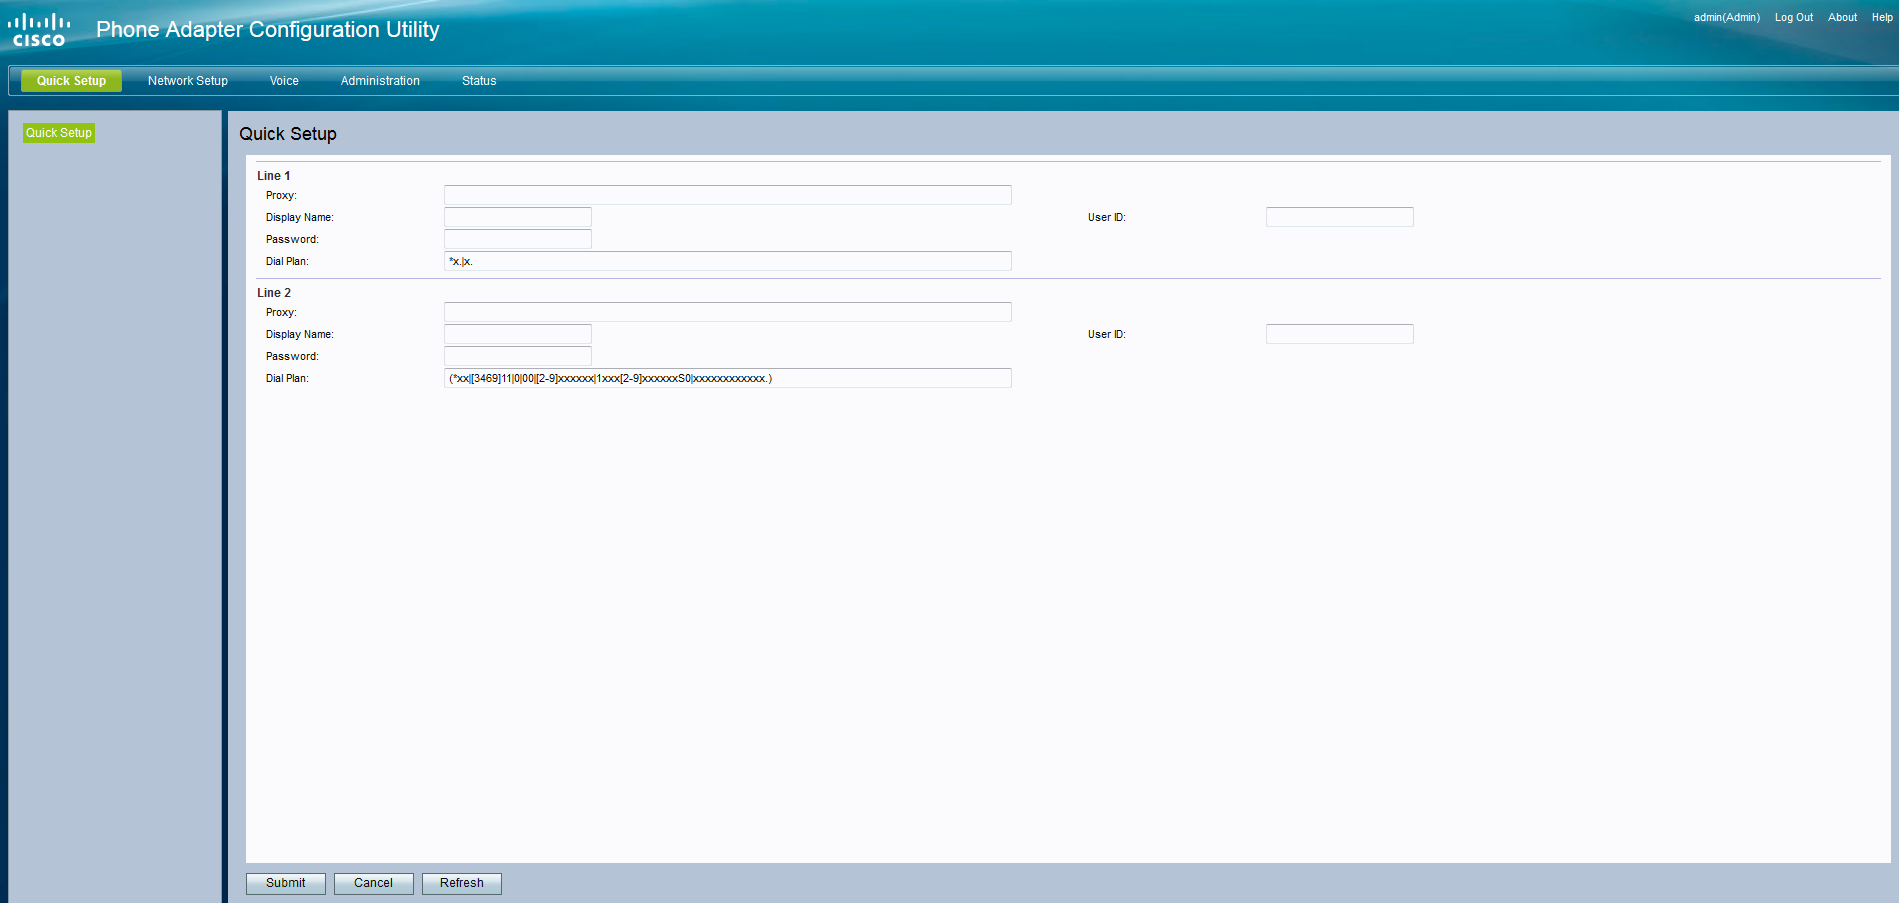
8-) From the menu select the 'Voice' Tab, then 'Line 1' from the left side menu. The main configuration settings will appear.

9-) Enter the details as follow:
Proxy and Registration:
Proxy: The Voipoffice IP address / URL (e.g: 77.240.XXX.XX)
Outbound proxy: leave blank
Use Outbound Proxy: No
Subscriber Information:
Display name: Extension Number (e.g: 1XXX)
Password: The extension secret password (See the first screenshot on how to retrieve it)
User ID: the Extension number (e.g: 1XXX)
10-) If configured correctly, the configuration should look like this:

11-) Click Submit and the Cisco will reboot.
12-) Once this has been done, log into the voipoffice and go to the Monitor section: If the registration has been done correctly, the extension should appear as 'online'.

