It is quite common for customers to need to update the greeting message that callers hear when calling in to an IVR or queue hosted on a VoIPOffice. It may be that the available options have changed or even that regulatory changes have introduced new requirements that need to addressed in the message given. Whatever the reason, the steps are the same.
Prerequisites
In order to complete this task you will need the following:
- You will need to know the administration email address and login password of your VoIPOffice in order to log in. You will also need to know the IP address of your VoIPOffice. All these details were provided in the original Welcome Pack email the account holder received from Telappliant.
- You will also need access to a telephone that is an extension configured on the same VoIPOffice server. It is recommended that this telephone be located somewhere quiet to ensure that the recorded audio is clear.
- You will need to know what the Feature Access Code is for recording greetings. By default this is *301 however you can use the Article called 'How to review the Feature Access Codes for your VoIPOffice' to check the feature code as configured on your VoIPOffice.
How to create a new recording
The first step of this task is to create a new recording that will be used as the new greeting. This will be recorded using a telephone associated with the VoIPOffice.
- From the telephone extension, dial the Feature Access Code for recording greetings, typically *301. You will immediately hear a beep and you should start to speak.
- When you have finished simply hang up the call. There are no options to pause the recording or review it before finishing.
Log on to your VoIPOffice
If you are unsure how to access your VoIPOffice server then please review the Article called 'How to log in to your VoIPOffice'.
How to change the greeting for an IVR
If you wish to associate this new recording with an IVR, follow these steps or look lower in this article for the steps relating to a queue.
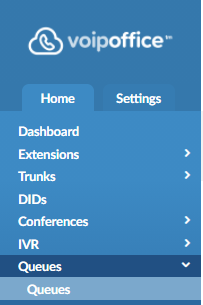
- Click on 'IVR' in the navigation menu on the left hand side.
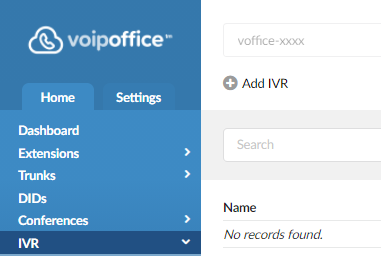
- Click on the edit button beside the IVR you wish to add this recording to.
- The IVR: Edit page opens. Click the dropdown menu for the 'Greeting' field and select your new recording. The new recording will have today's date and the time of the recording allowing you to easily select the right one.

- Click the Save button to finish the task.
How to change the greeting for a queue
Before a new recording can be associated with a VoIPOffice queue a few changes need to be made.
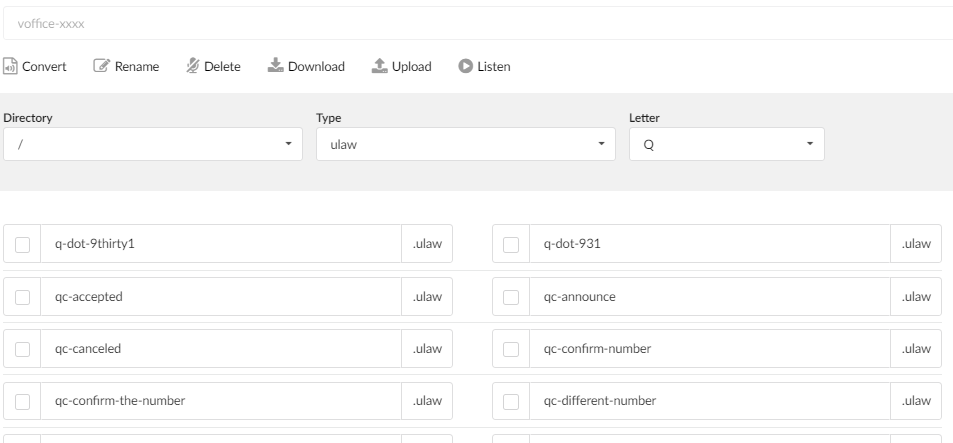
- Click on 'System' in the navigation menu on the left hand side to expand this menu option and then click on 'Sound Files'.
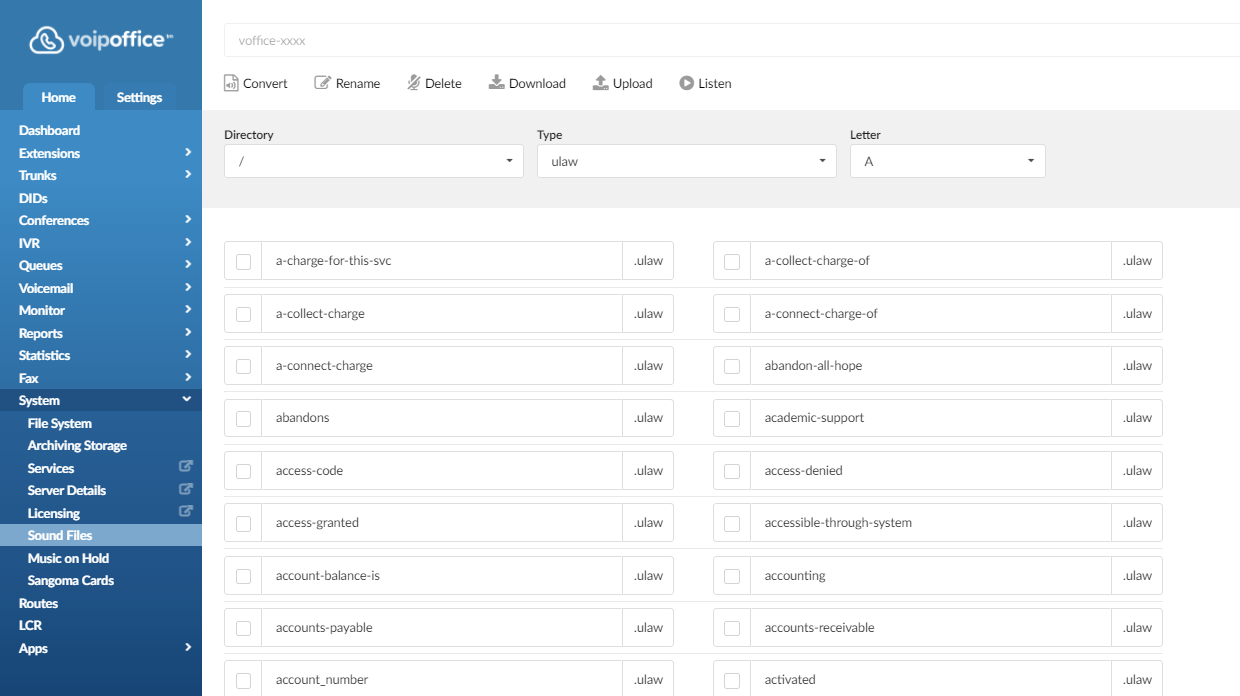
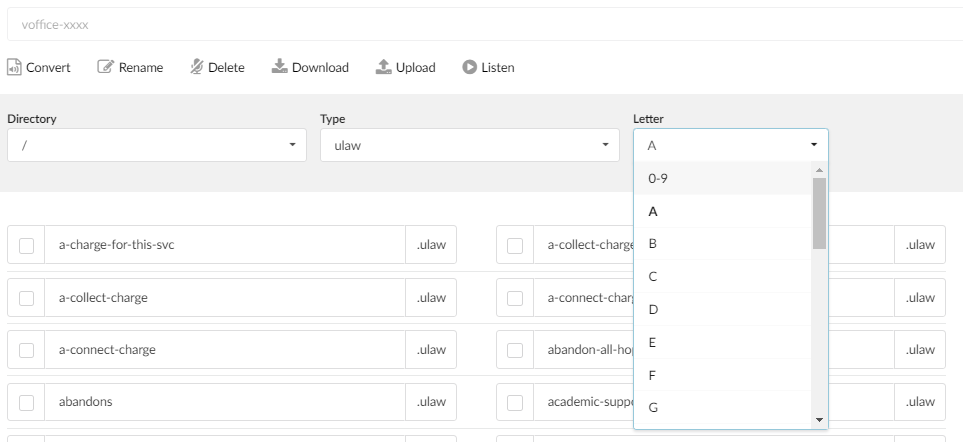
- A list of all the sound files currently available is displayed. We need to locate the file we just recorded which will be named using the date and time of the recording as the file name. For example, 'greeting-Sep-21-2007-14-20-41'. To locate this file, you can filter the list using for 'Letter' filter option and selecting the initial letter of the file name, 'g'.
- Scroll down the filtered list until you locate the recording you made. Tick the check box to the left of the name and edit the file name pre-pending the string 'queue-' to the file name. Once changed, click the Rename button at the top of the filtered list.
- Now click on 'Queues' in the navigation menu on the left hand side.
- Click on the edit button beside the queue you wish to add this recording to.

- The Queues: Edit page opens. Click on the Advanced Options link.

- The Greeting option is at the bottom of the configuration screen. Scroll down and click the dropdown menu for the 'Greeting' field to select your renamed recording. Then click the Save button.


