Configuration of your Orbtalk Trunk with Free PBX
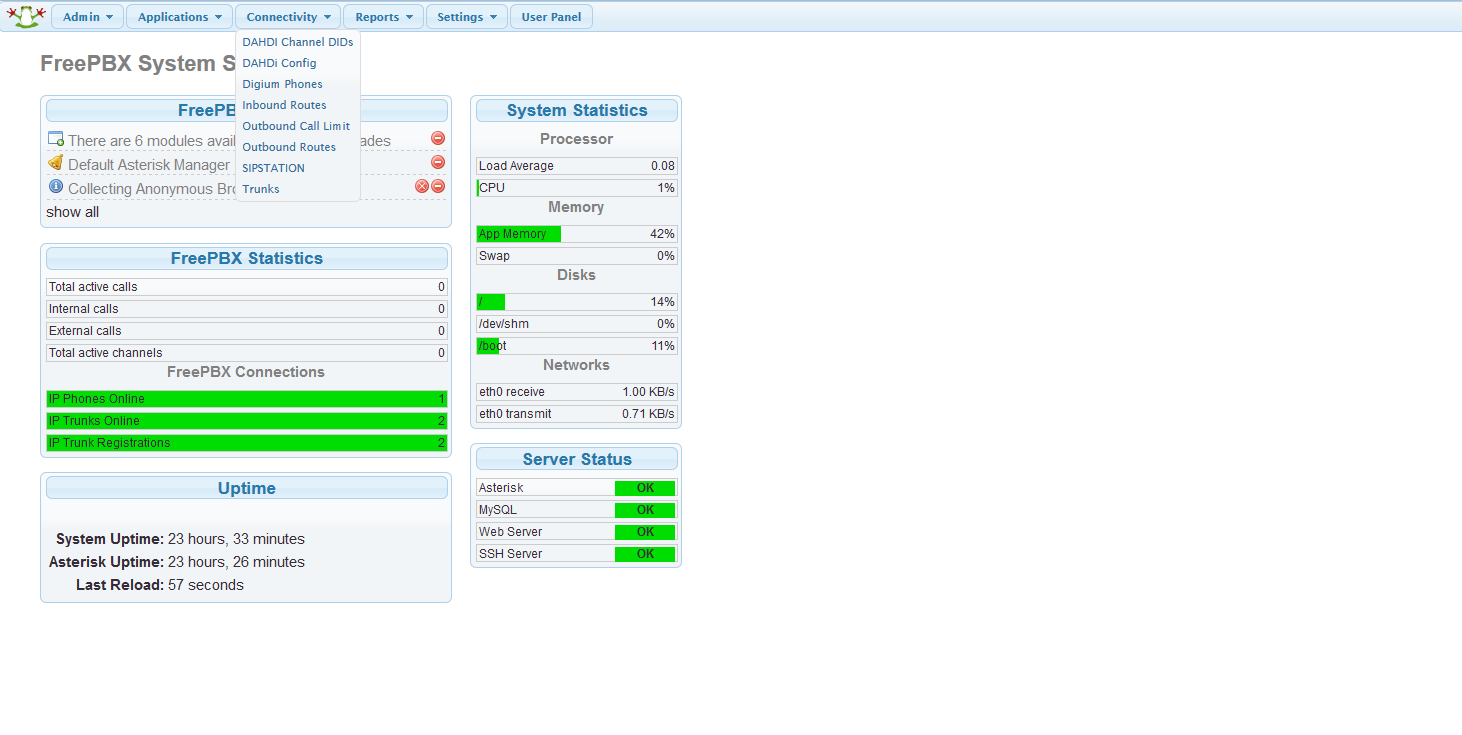
Firstly, on your FreePBX system, Hover over ‘Connectivity’ and then navigate to ‘Trunks’ (Screenshot Below)
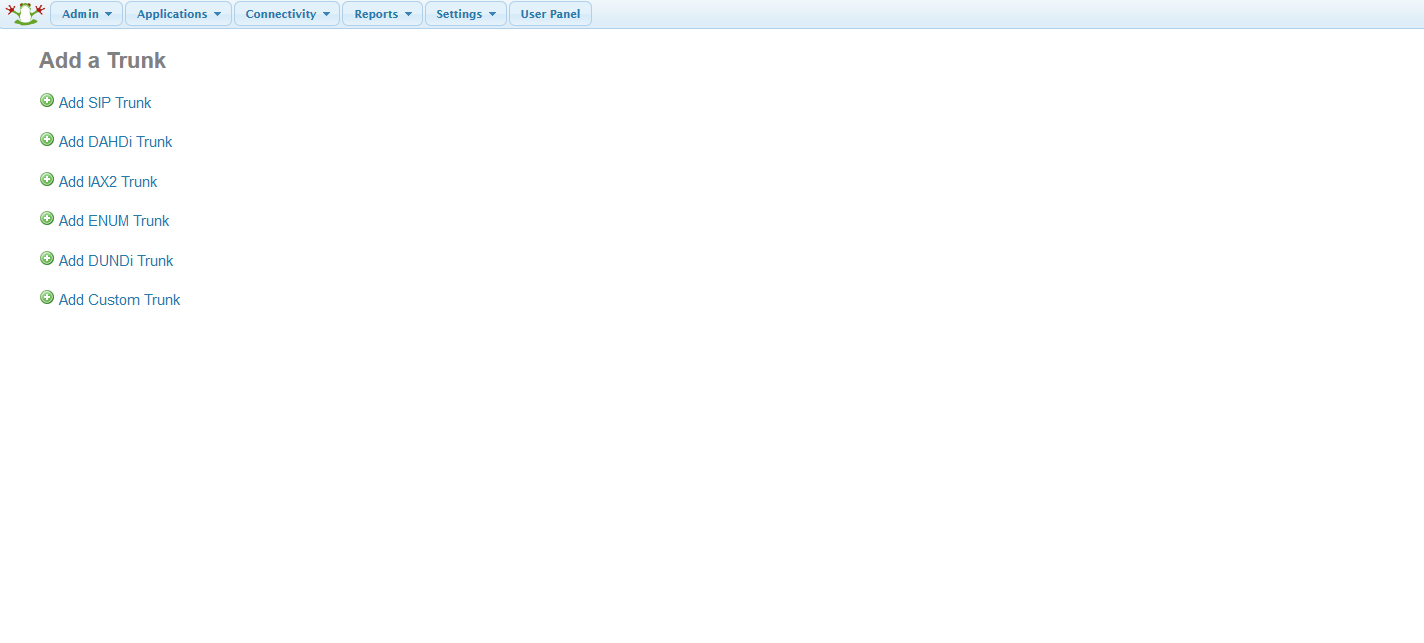
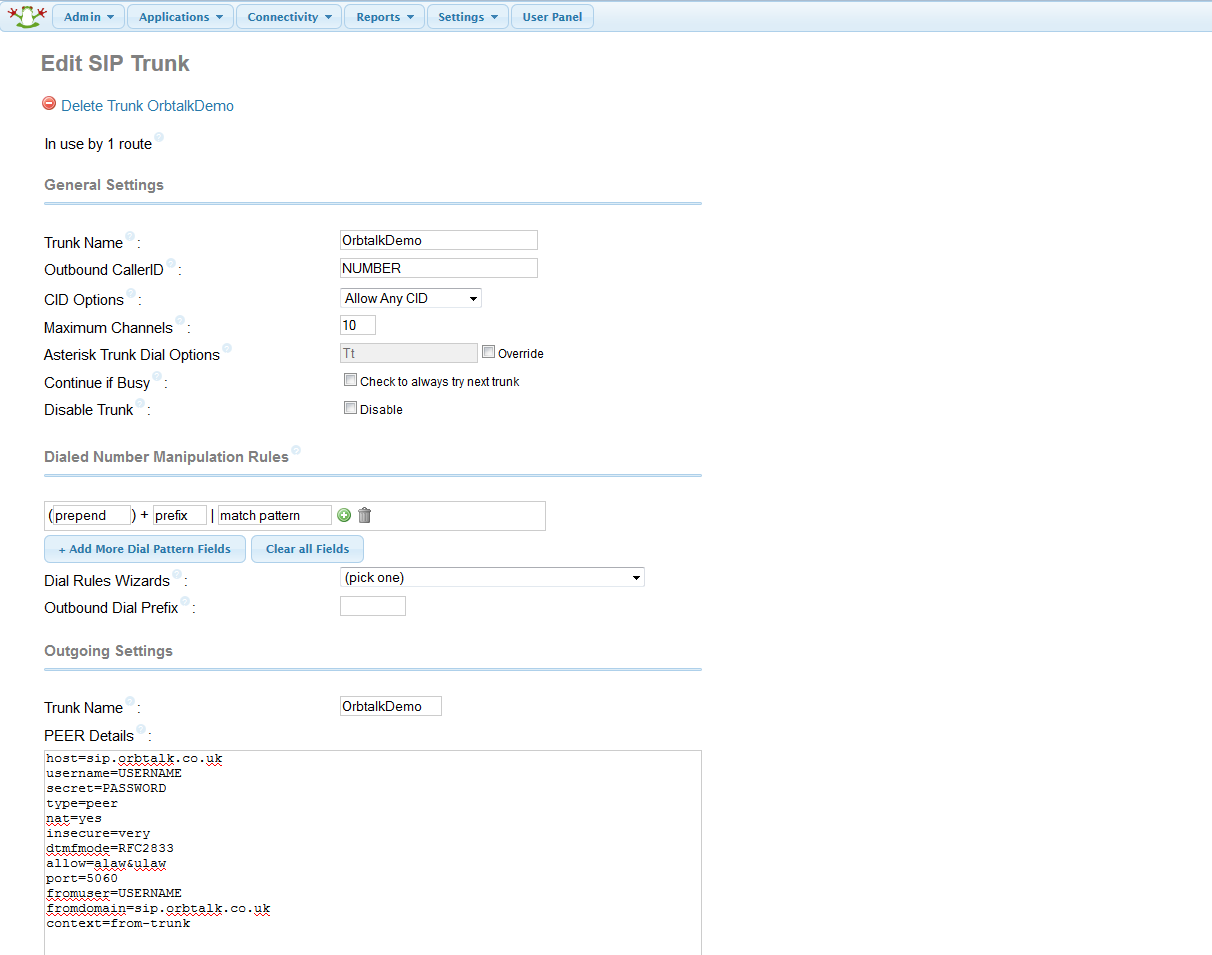
Next, Click 'Add SIP Trunk’, you will need to give your Trunk a Name (Orbtalk for example) and also set your outbound caller ID to a number associated with your trunk. Next are the peer details, which are outlined below the screenshot, these are required for outbound and registration via the trunk.
Peer Details:
host=sip.orbtalk.co.uk
username=***USERNAME***
secret=***PASSWORD***
type=peer
nat=yes
insecure=very
dtmfmode=RFC2833
allow=alaw&ulaw
port=5060
fromuser=***USERNAME***
fromdomain=sip.orbtalk.co.uk
context=from-trunk
Underneath the peer details, at the bottom of your current page is the register string, which the configuration is below, an example of the peer configuration is below;
***USERNAME***:***PASSWORD***@sip.orbtalk.co.uk:5060/***USERNAME***
Next, hover over ‘Connectivity’ and then go to ‘Outbound Routes’, You will need to give your route a name, along with a number you wish to present when dialling outside of the system. An example configuration is below in the next screenshot;
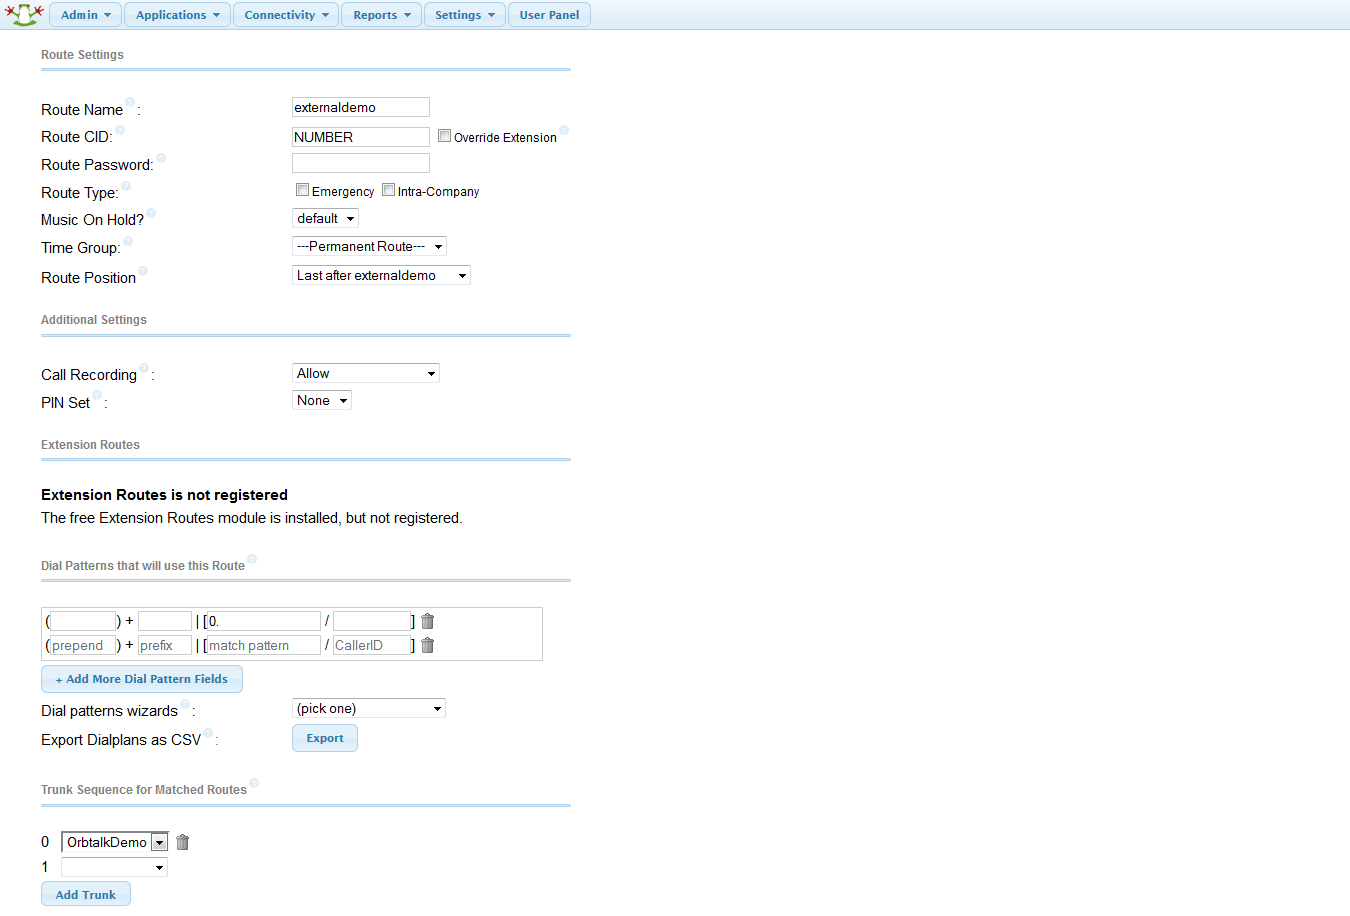
Inside of the ‘Dial Patterns that will use this route’ you would need to match the pattern of the format your dialling, as above in the screenshot, I’m using “0.” Which will route anything that starts with a zero to the ‘Trunk Sequence for Matched Routes’ which is the trunk configuration we setup earlier.
At this point, you should click ‘Save Settings’ on the top bar of FreePBX, which will reload all services and configuration files (after this point your trunk should be registered). Please register as an extension and test this before the next step.
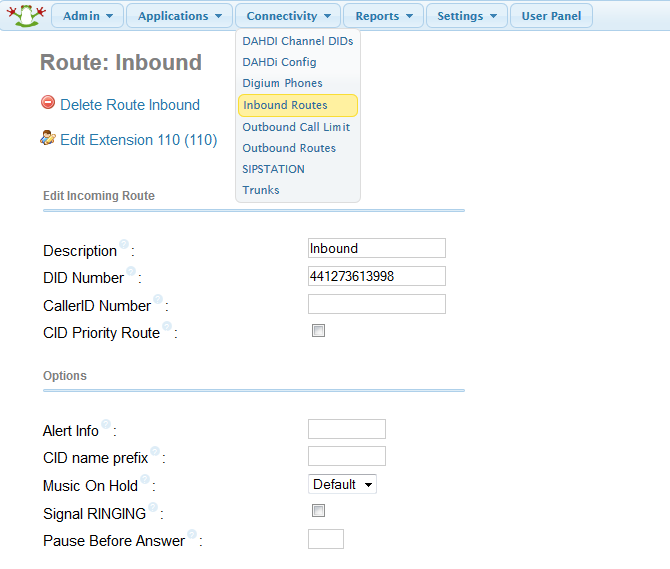
Next, we will configure inbound rules, hover over ‘Connectivity’ and then navigate to ‘Inbound Routes’, Next enter a description of the route in the example below I have named this inbound. The DID number is the number assigned to your account. The CallerID Number is to only allow a certain CLI to dial into the number, in the below example I’ve left this blank so it accepts any CLI into the system.
Now your inbound and outbound connections should be working via the Orbtalk SIP Trunk.

