Download MicroSIP on using the link below to their website – https://www.microsip.org/downloads
Login to your VoIPTalk Account - https://www.voiptalk.org/
You will then be taken to your voiptalk account dashboard which will display your Trunk IDs. Click on the Trunk ID to open up a new window (make sure to allow pop ups on your browser if prompted), this window will display the Trunk ID, as well as the password, and will also allow you to change the password if required.

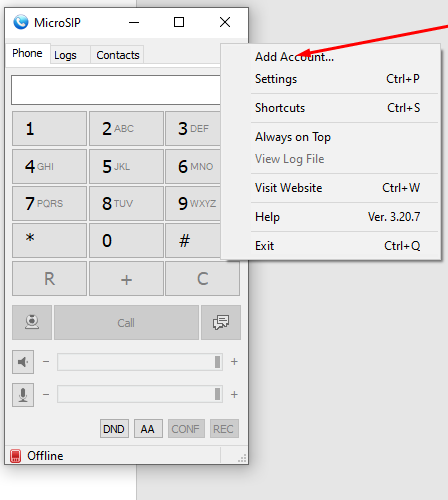
Once this information has been obtain, open up MicroSIP. Click on the downward arrow at the top right of the application, which will open a menu. Click on “Add Account”.

You may add any name to name the Account Name field
SIP server – This will be the VoIPTalk domain (voiptalk.org)
SIP proxy – This will be nat.voiptalk.org
Username – This will be your Trunk ID which is lised on the VoIPTalk portal.
Domain - This will be the same as the SIP Server field (voiptalk.org)
Login – This will also be your Trunk ID, the same as the Username field.
Password – This will be the password displayed on the VoIPTalk portal once you click on the Trunk ID.
Your MicroSIP settings should look similar to the following Image.

Hit 'Save' and you will notice the green icon light up on the bottom left corner if the registration was successful.


