All administrator tasks are performed from the admin portal. The admin portal is a web-based application that runs on any device (mobile phone, tablet or PC) running a browser.
You access the admin portal using the user portal login. After logging in to the user portal, users with admin permission can access the admin portal.
Logging in to the Web Portal
To log in to the web portal:
- Launch a web browser.
- In the browser address bar, go to https://portal.orbtalk.co.uk and the Login Page will then appear.
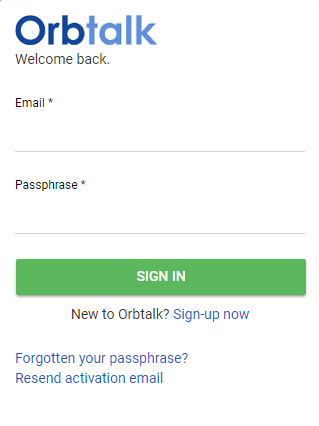
- Once at the Login Page, enter your email address and then your passphrase to access your account.
- Click Sign In.
- Click Cloud Phone System and then at the top-right of the page, click the Manage Organisation link.
Note: If the Manage Organisation link does not appear, this means you do not have Office Manager permissions.
Understanding the Admin Portal Interface
The top of the admin portal interface contains a menu bar with icons for navigating through the portal (see Table 1‑1). When you click an icon, the page associated with the icon appears in the dashboard. Some pages have tabs for accessing configuration settings.
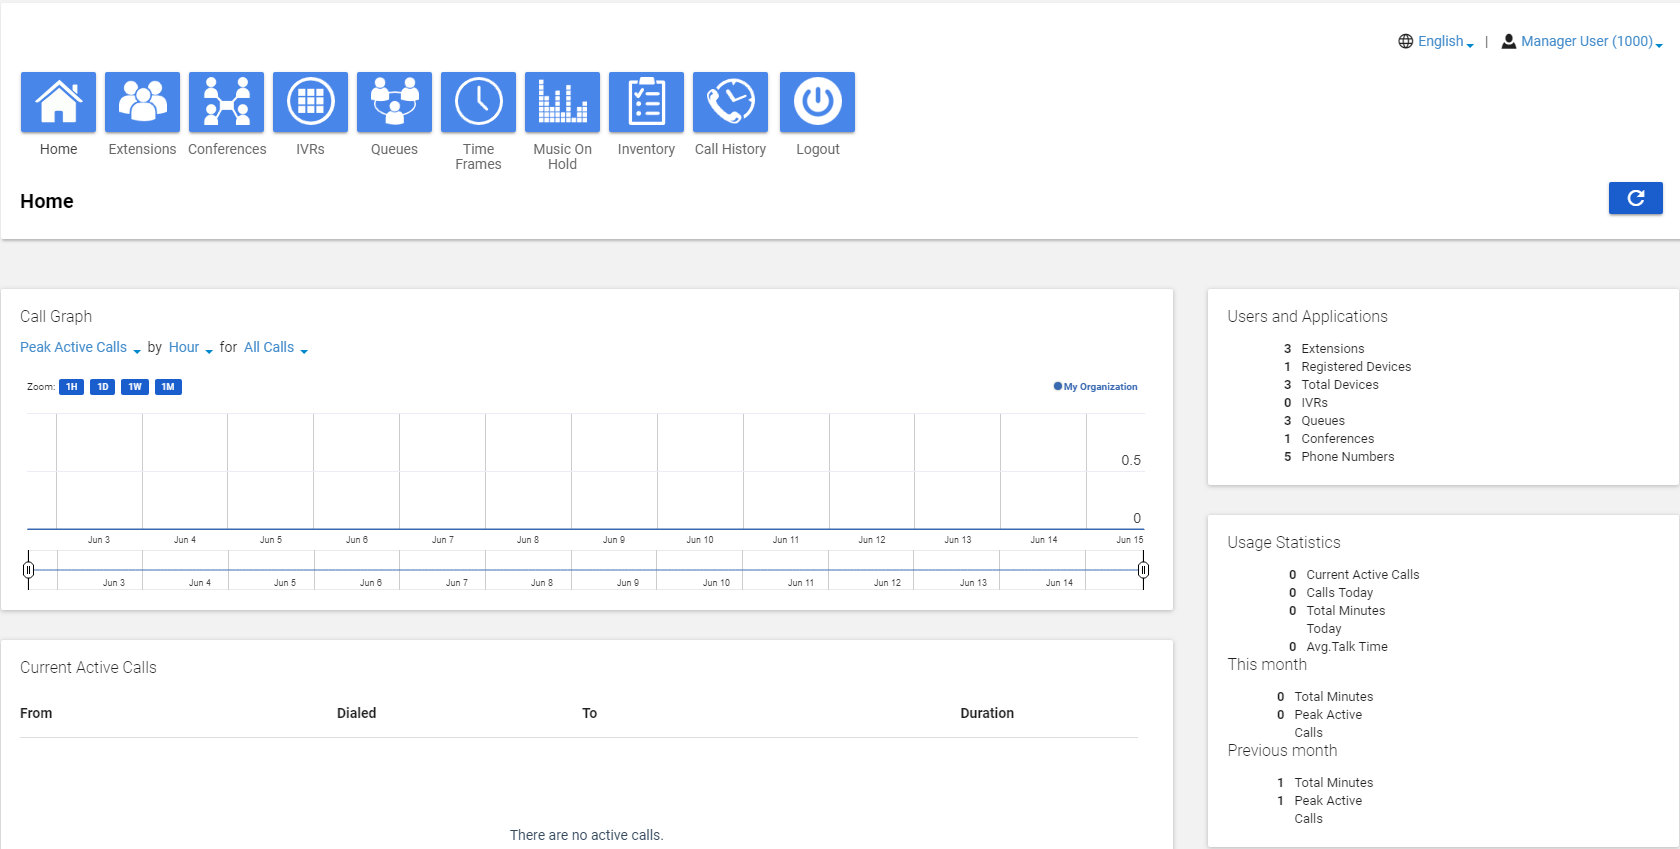
Table 1-1. Admin Menu Icons
|
Menu Icon |
Description |
See Chapter |
|
Shows active call information such as graphs and statistics. | 3 |
|
Shows extensions configured in the system and allows you to add, edit and import extensions. | 4 |
|
Shows conferences configured in the system and allows you to edit, delete, join a conference and view conference statistics. | 5 |
|
Shows IVRs configured in the system and allows you to add, edit and delete IVRs. | 6 |
|
Shows queues configured in the system and allows you to add, edit and delete queues, add Music on Hold files to queues and configure agents associated with queues. | 7 |
|
Shows all time frames configured in the system and allows you to add, edit and delete time frames and view time frame start and end times. | 8 |
|
Shows all files that are part of the Music on Hold feature and allows you to add, edit and delete Music on Hold files, change the order in which files are played and randomise the playing of files. | 9 |
|
Allows you to manage the phone numbers and phone hardware in the system. | 10 |
|
Allows you to review, filter and export call logs for greater analysis. | 11 |